
Step 1
Define the theme
Character, series, or palette, plus the bag window size you are working with.
Plan a balanced ita bag layout, generate matching pin concepts to fill the gaps, and preview the whole display before you buy, trade, or commission pins.
Plan an Ita Bag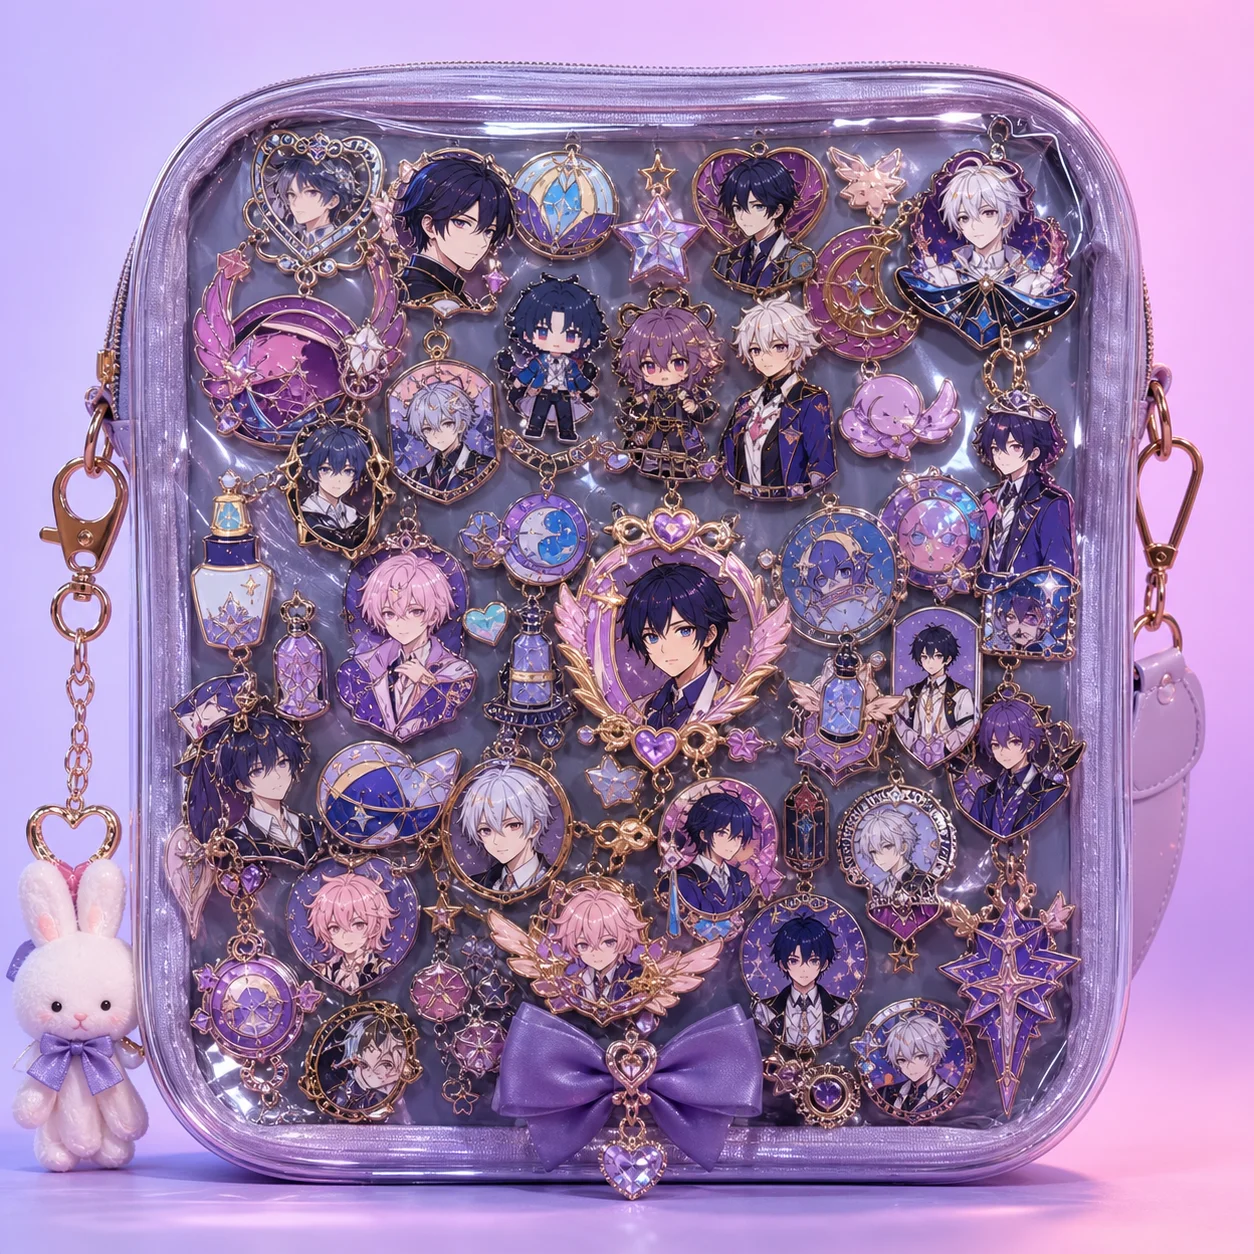
How it works
Step 1
Character, series, or palette, plus the bag window size you are working with.
Step 2
Official badges, commissioned pins, charms — and note the color spread.
Step 3
Empty corners, missing accent colors, or a weak focal center.
Step 4
Use the pin maker, locked to your theme's palette and style.
Step 5
Focal piece at center-eye position, supporting pins radiating outward, accents at the frame.
Step 6
Take final concepts to the production brief workflow when you want physical pins made.
Why use it
Plan placement against standard insert sizes, balance official merch with custom pieces, and spot the gaps.
Generate custom enamel pin concepts that match your theme's palette and style — filler pins, letter pins, frame accents — then take the strongest concepts to production with a manufacturing-ready brief.
FAQ
Most inserts run around A4 or smaller. A 75-100mm focal piece, 40-60mm supporting pins, and 25-35mm accents layer well in that space without crowding.
Yes — describe the official piece's palette and style in the prompt (or upload it as a reference in the image workflow) and generate companion concepts that coordinate instead of clash.
The platform generates production-ready concepts and quote-ready briefs. For physical production, take the brief to a pin manufacturer — see the production workflow guide for hard vs soft enamel, MOQ, and supplier handoff details.
No — the same layout thinking works for band merch, sports pins, pride displays, and corporate badge walls. Any pin collection behind a window benefits from composition planning.
Keep Exploring