
Step 1
Choose a model route
Choose a model route based on style control, reference strength, and detail level
AI Pin Maker is an AI-powered design platform that generates enamel pin concepts from text prompts, reference images, and model routes — producing variant grids, mockups, and export-ready files before you commit to final artwork.
Start AI Pin Design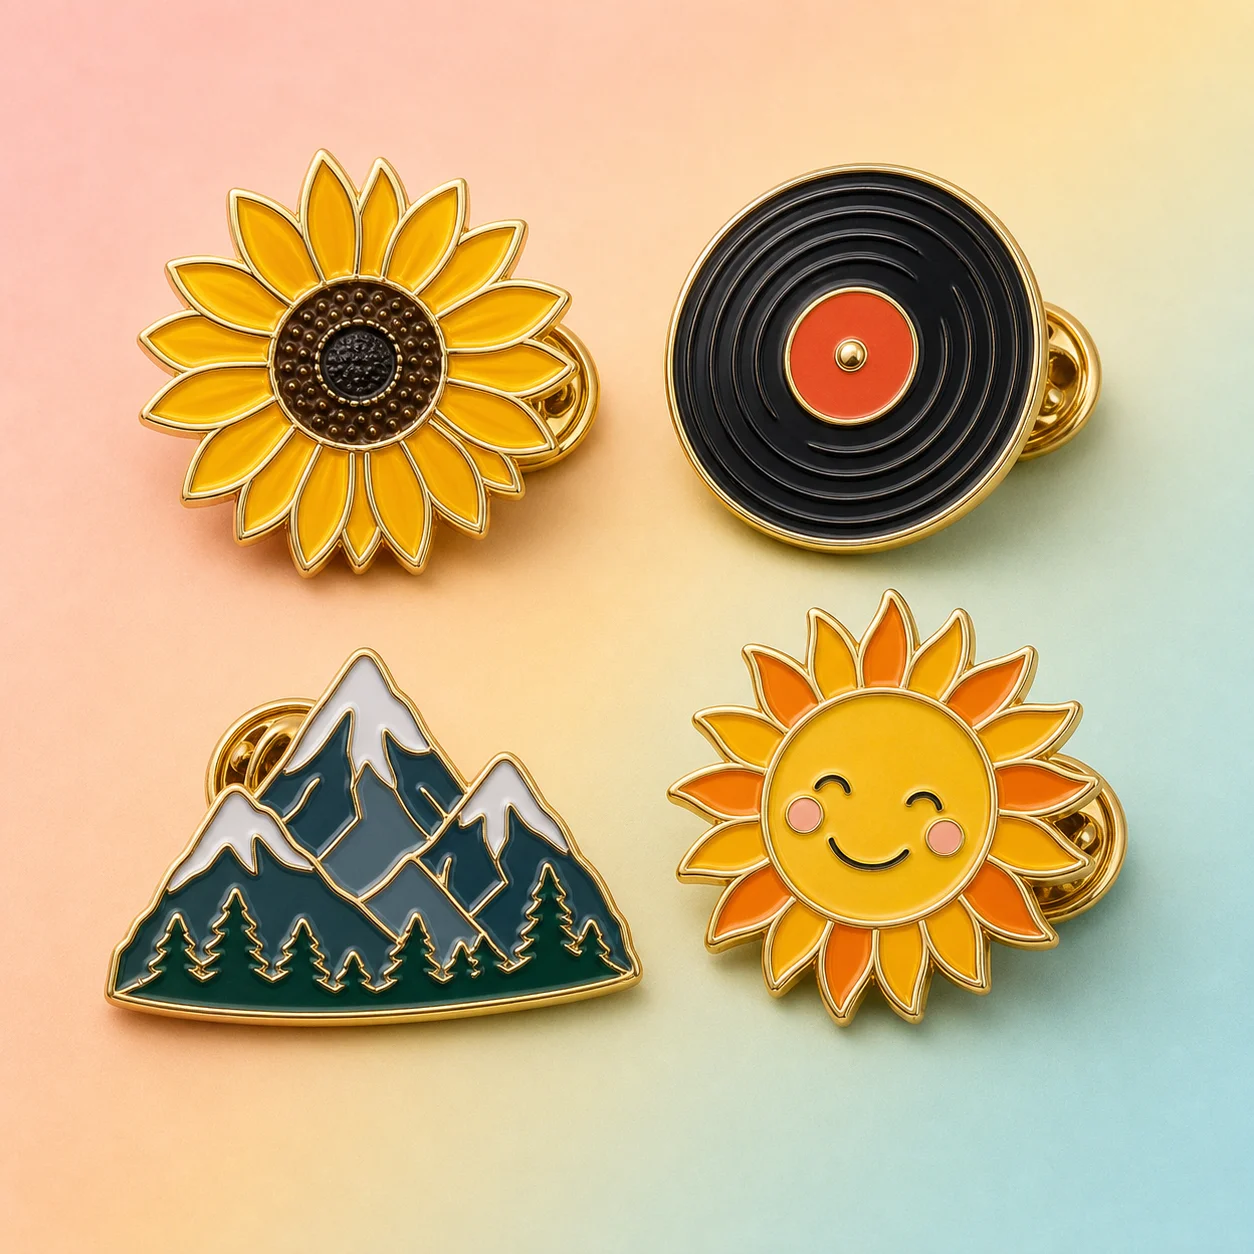
How it works
Step 1
Choose a model route based on style control, reference strength, and detail level
Step 2
Write a compact prompt with subject, silhouette, metal outline, enamel colors, and finish
Step 3
Add negative words to reduce gradients, clutter, tiny text, photo realism, and weak outlines
Step 4
Compare versions, save the clearest concept, then export PNG references for final artwork
Why use it
Use Seedream 4.5 when you want polished concept images, strong shape interpretation, and cleaner product-style presentation; test Wan 2.7 when you want more exploratory illustration energy or alternate visual styles.
Describe the subject first, then the pin shape, enamel style, metal outline, color count, finish, and presentation context so the model sees the object as a small physical pin rather than a general illustration.
Include constraints such as blurry, thin lines, tiny text, gradients, photorealistic face, busy background, complex shadows, too many colors, watermark, misspelled letters, uneven border, and no metal outline.
Upload a logo, mascot, sketch, product photo, brand palette, or moodboard when you need the AI result to stay close to an existing identity instead of inventing a new character.
Compare four to eight outputs by silhouette, small-size readability, enamel color separation, metal line strength, attachment feasibility, and whether the design still works without background decoration.
Save the best PNG for visual review, keep the prompt and model route attached to the project, and prepare notes for a designer to redraw the concept as AI or SVG vector art before manufacturing.
FAQ
Start with Seedream 4.5 if you want a clean first pass with strong composition, polished product feel, and better control over a simple enamel pin look. Try Wan 2.7 when you want more visual variety, bolder illustration experiments, or a second opinion on the same subject. A practical workflow is to run the same prompt through both routes, then judge which output has the clearer silhouette, stronger border, and fewer production problems.
A good prompt names the subject, the pin shape, the enamel process, the metal outline, the color limit, and the viewing angle. For example: cute red panda enamel pin, round badge shape, thick gold metal outline, hard enamel style, five flat colors, simple face, no background, clean vector-like product mockup. Add use case details when they matter, such as convention merch, coffee shop loyalty pin, band tour pin, or school club badge.
Use negative words to block details that look impressive on a screen but fail as pins. Common negative words include thin lines, tiny text, complex gradient, watercolor bleed, photorealistic texture, busy background, floating parts, weak outline, too many colors, illegible letters, extra limbs, sticker sheet, soft shadow, metal missing, and no border. The goal is not to remove personality; it is to keep the image readable when the final object is only about one inch across.
Reference images are useful when the pin must follow an existing logo, mascot, character, color palette, or product identity. Upload the reference, then write what should be preserved and what can change. For example, preserve the cat mascot pose and blue brand color, but simplify the fur details into flat enamel areas with a silver outline. If the first result copies too much background detail, add instructions for isolated pin object, centered, no scene, and limited colors.
Do not choose only the prettiest image at thumbnail size. Compare each version as a potential physical object. Check whether the outer contour is memorable, the metal outline is continuous, color regions are separated, eyes and letters are not too small, and the idea still reads in black and white. Save one polished option, one simplified option, and one experimental option. This gives a designer or supplier useful direction without locking you into a single AI mistake.
Export a high-resolution PNG for visual reference and keep the prompt, model route, seed or version notes, and any uploaded references together. A PNG is usually not enough for manufacturing because suppliers need editable vector paths for molds and enamel fills. Treat the AI result as concept art: it helps you decide the direction, then a designer should redraw or trace the chosen concept into AI or SVG files that a manufacturer can proof.