
Step 1
Start with your concept
Start from a simple pin concept, logo, mascot, or artwork reference
Turn a flat pin idea into a clearer mockup direction with scale, metal finish, enamel texture, backing card context, and production review notes.
Create Pin Mockup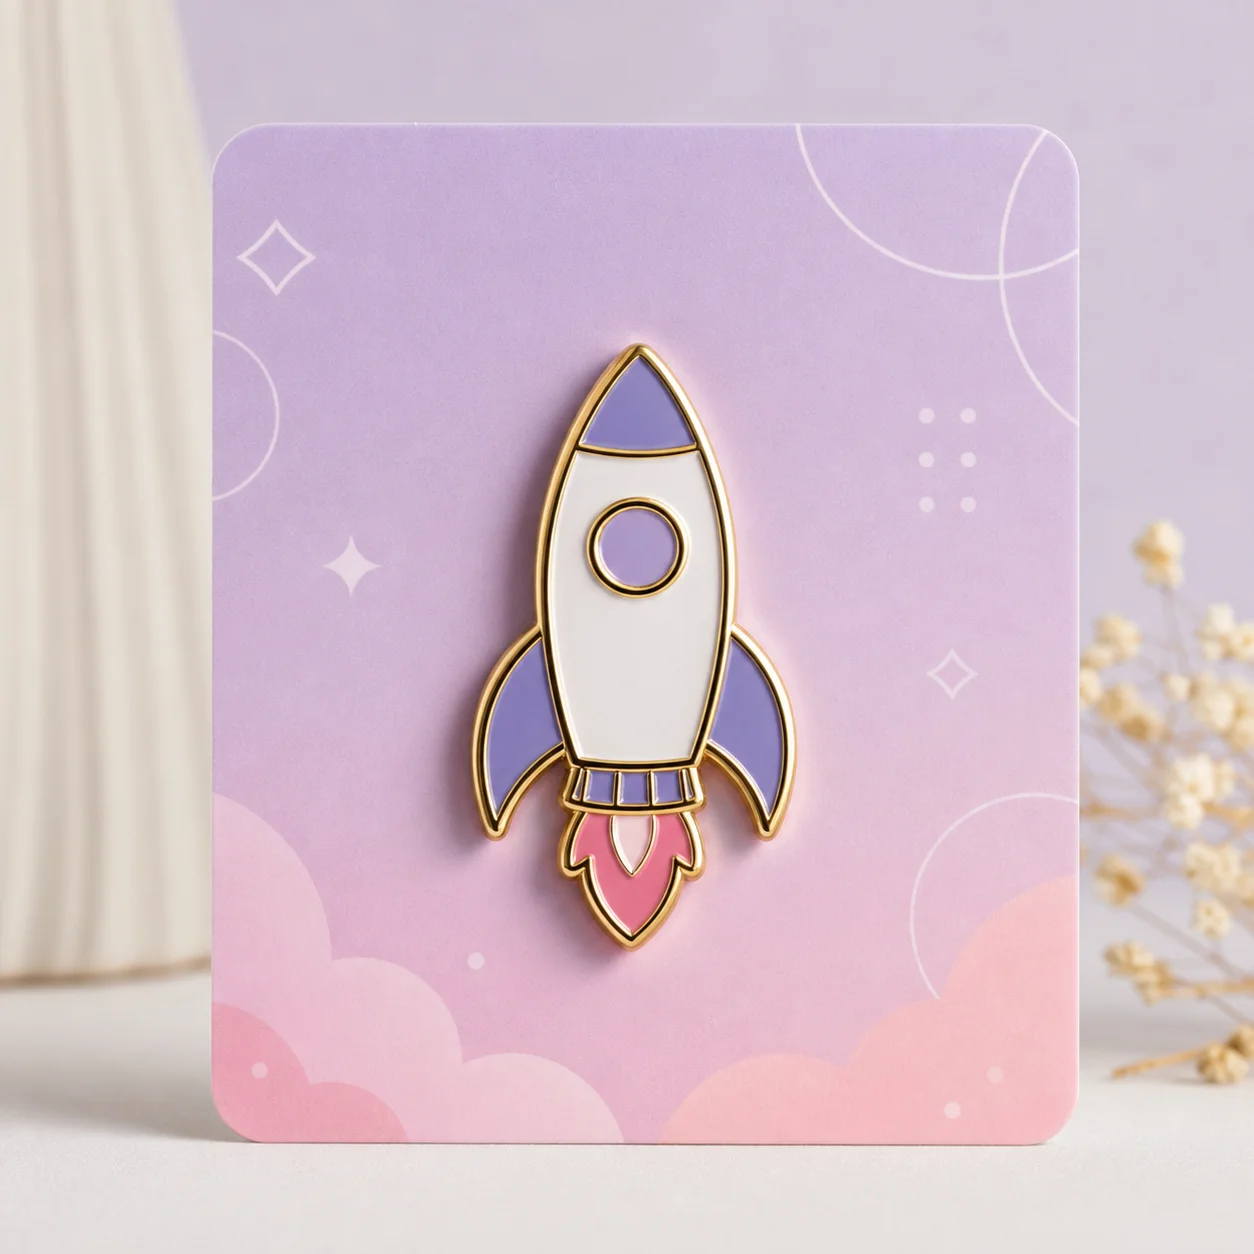
How it works
Step 1
Start from a simple pin concept, logo, mascot, or artwork reference
Step 2
Choose the mockup context, such as backing card, jacket, flat lay, or product page
Step 3
Specify metal finish, enamel color count, scale, shadow, and edge clarity
Step 4
Review the mockup for tiny text, weak outlines, unrealistic shine, and supplier notes
Why use it
A flat illustration asks the viewer to imagine the product; a mockup shows it. Metal shine, enamel fill, clutch hardware, and a backing card photographed at angle communicate "this is a real pin" in one glance — which is why mockups outperform flat art in pre-order campaigns and client approvals. Generate the design first, then run it through the pin mockup workflow to get presentation-ready shots without owning a camera or a sample run.
FAQ
It should show the pin shape, metal outline, enamel fills, finish, scale, and a realistic presentation context such as a backing card or jacket.
No. A mockup is useful for review and presentation, but final production still needs clean vector artwork and supplier approval.
A mockup helps catch readability, scale, color, and presentation issues before you pay for samples or approve a production proof.